A Primer On Creating Multiple Exposure Images
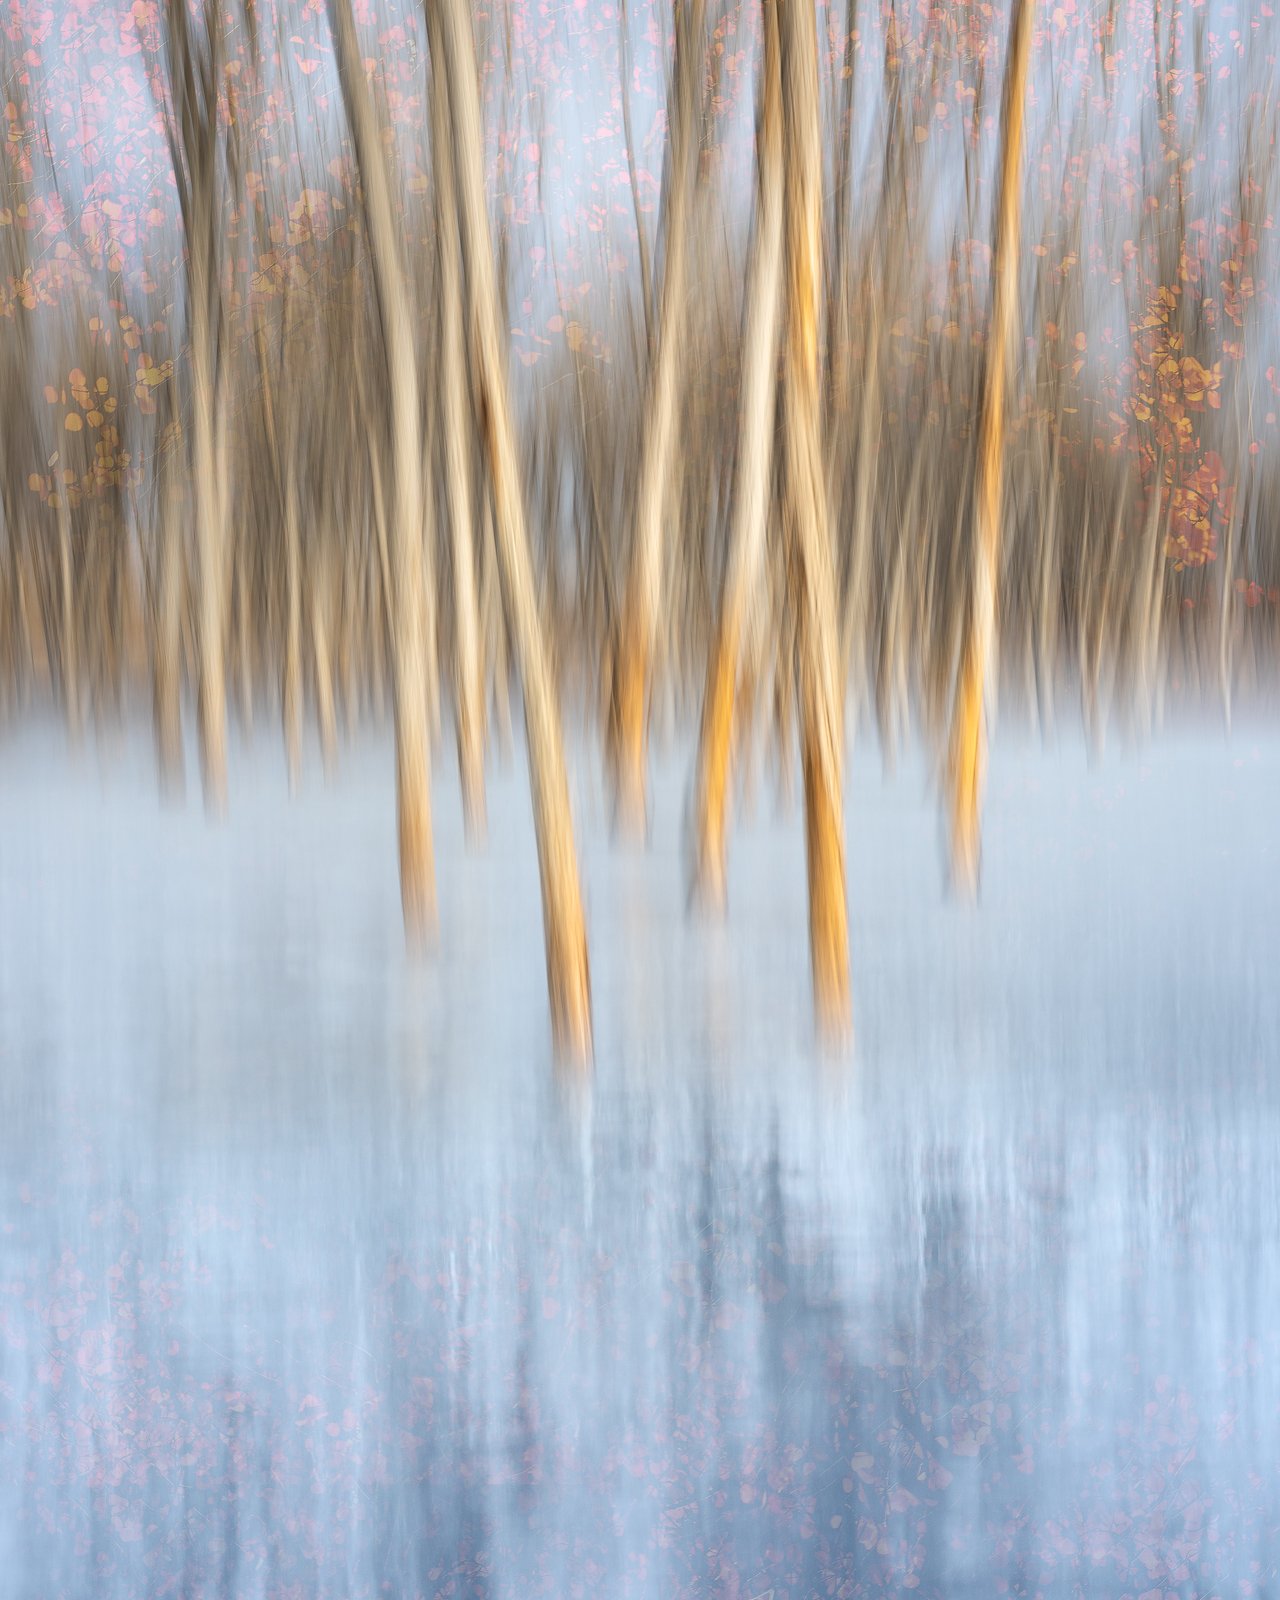
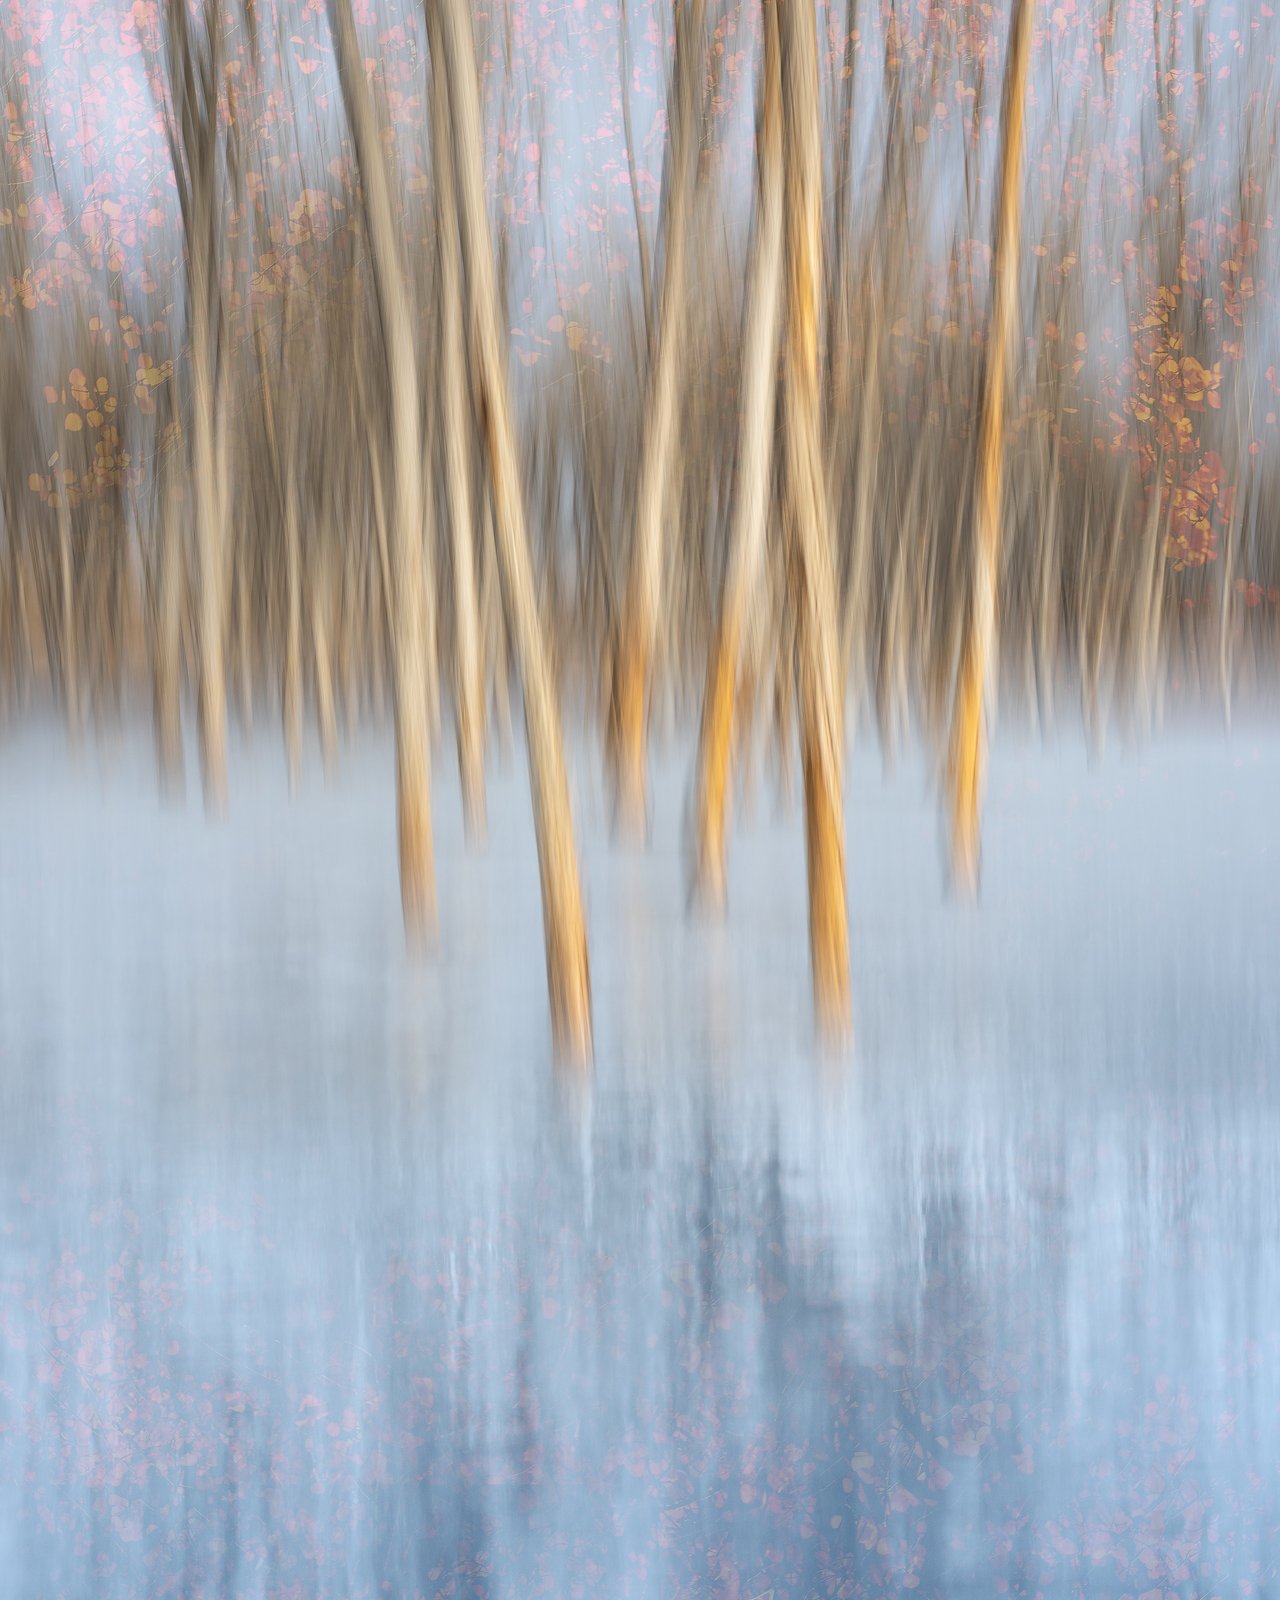
In this article I want to walk you through my process for how I created this image titled “Eternal Hanami” using multiple exposures. First let me state that I am in no way an expert at this experimental type of photography. I am sure other artists have their own process for creating these image which is likely more efficient. I basically just figured out a process through trial and error that allowed me the flexibility to create something unique using Intentional Camera Movement (ICM) images as a base. Check out my ICM article here if you want to learn more about my approach to ICM photography.

What Is Double Exposure Or Multiple Exposure Photography?
It is a process where two or more images are combined either in camera or in an editing platform such as Adobe Photoshop to produce one final image. Your camera may have a multiple exposure function where you can take a series of images and the camera will combine those images into one final product using various blend modes. The other option is take those individual images into your editing software and manually blend them together using blend modes and masking techniques. This primer will focus on the latter approach.
The RAW Ingredients
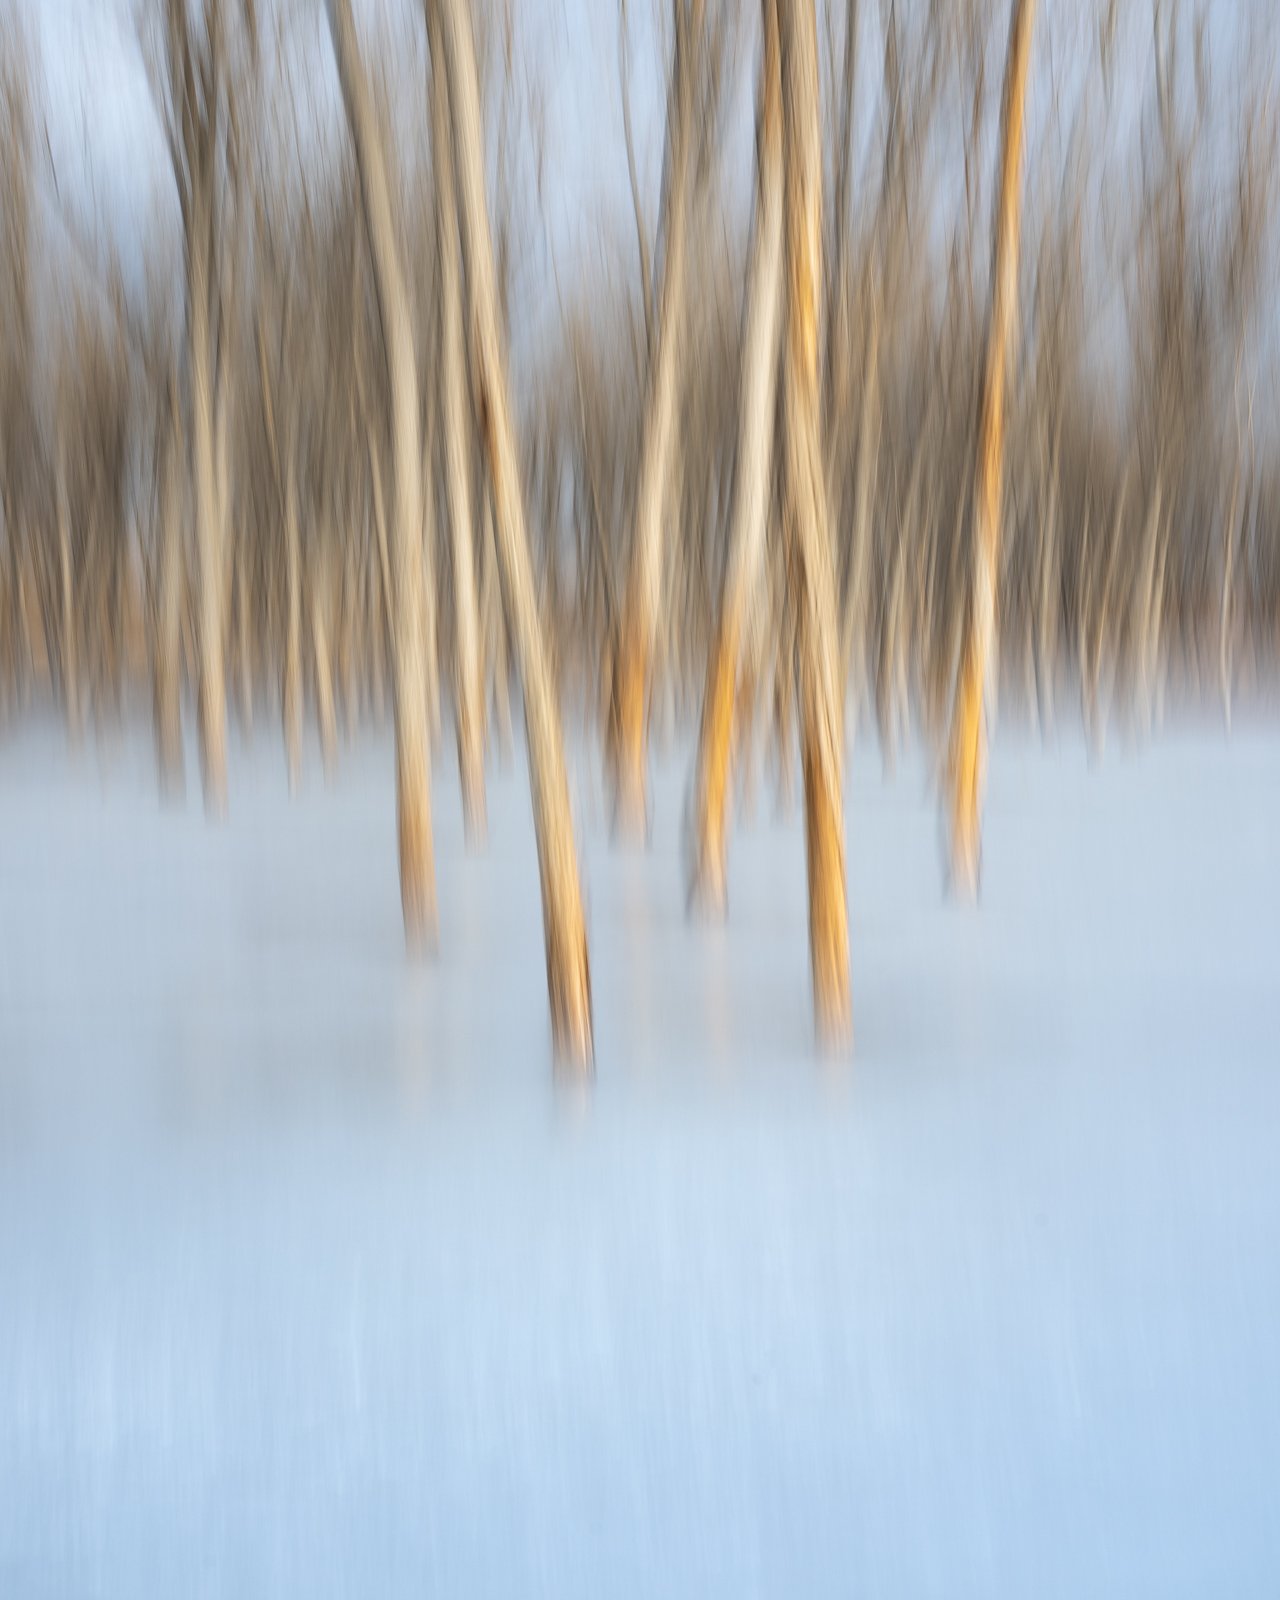
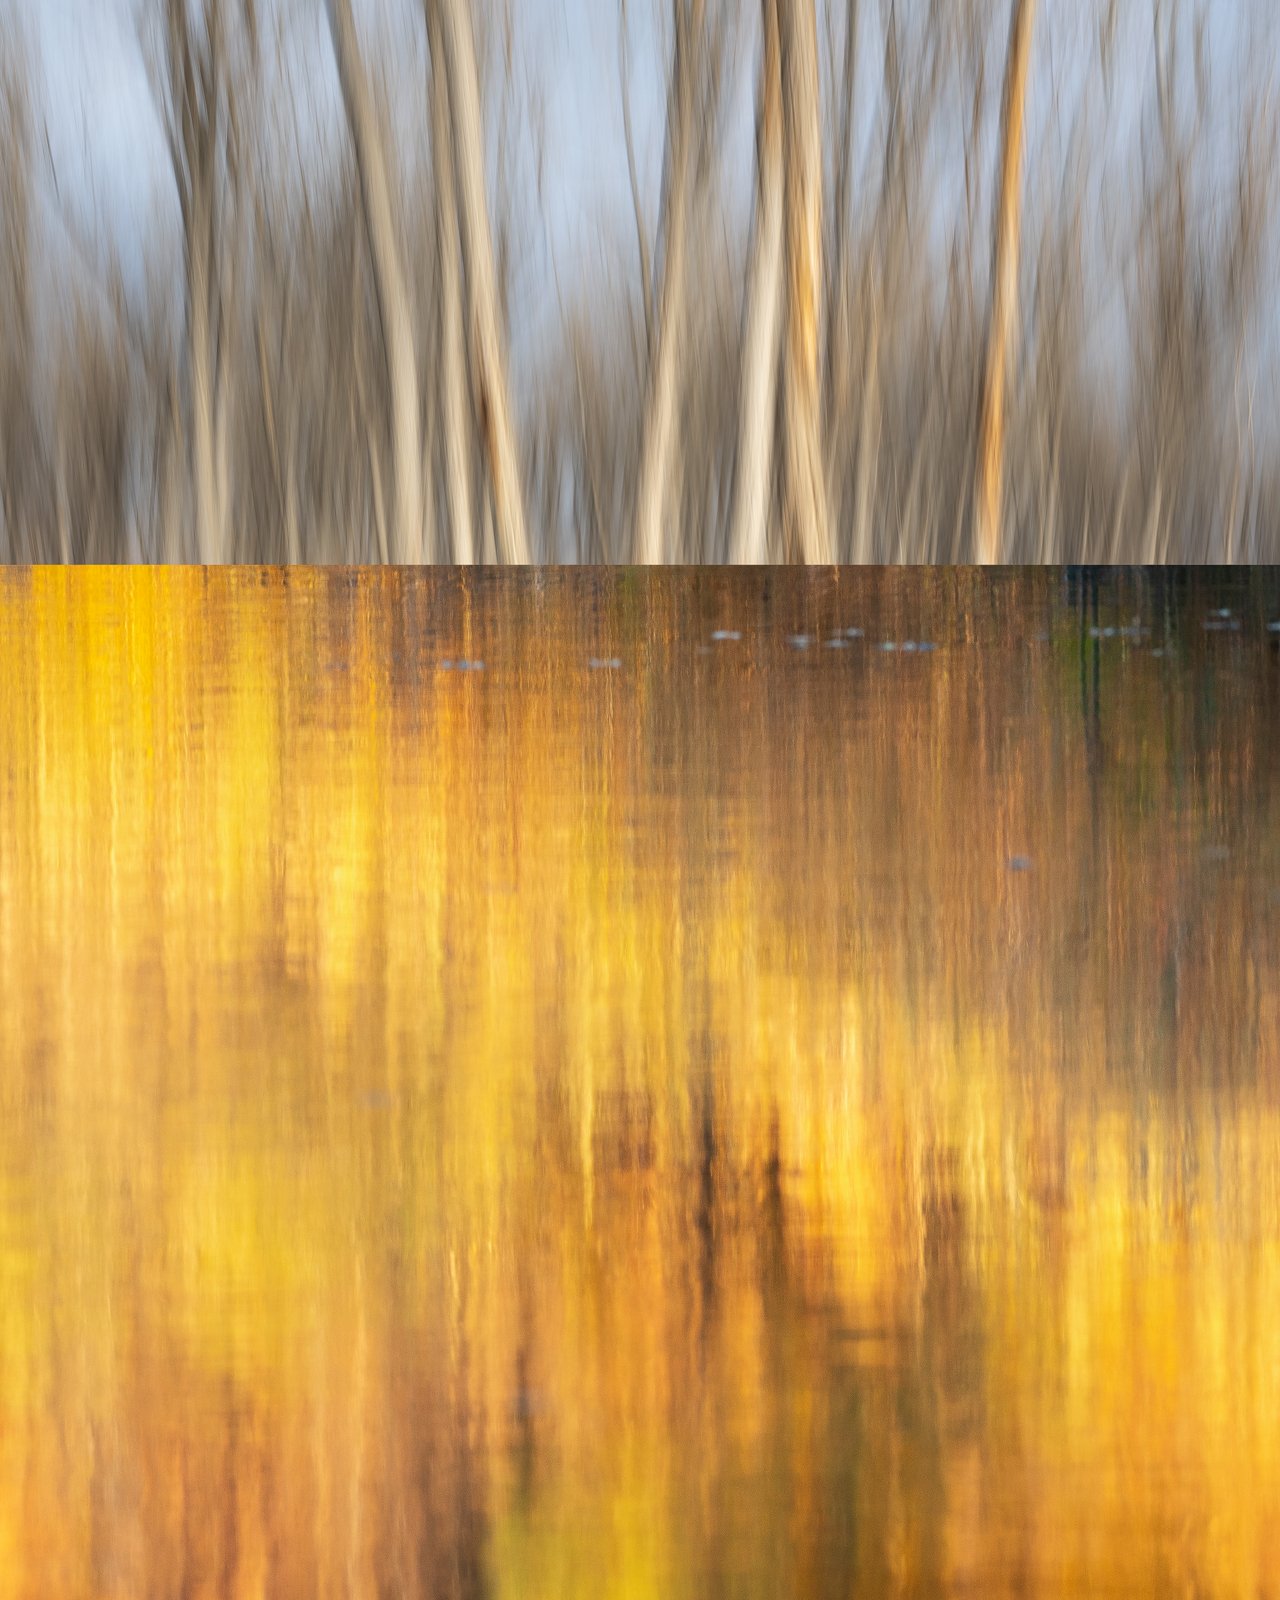
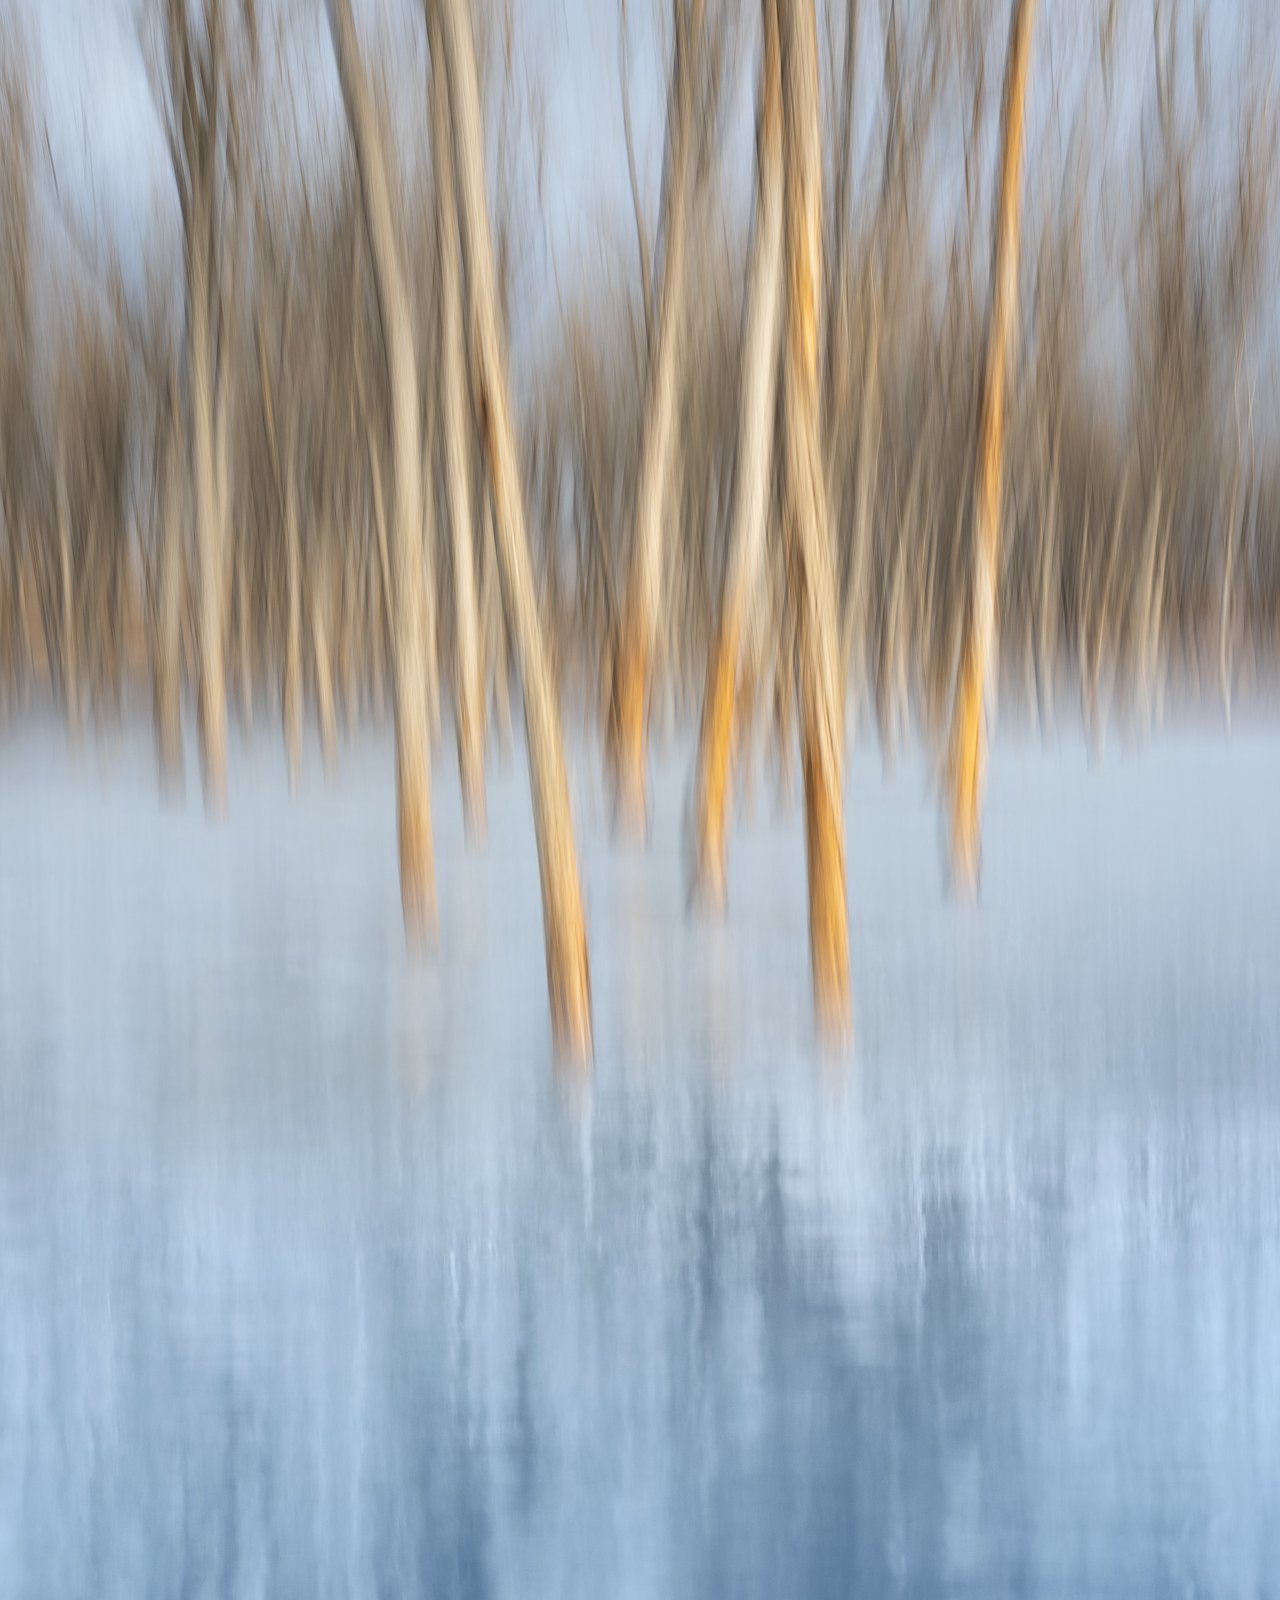
For my “Eternal Hanami” image, I started with an ICM image of trees on a frozen lake as my base image. By the way “Hanami”, which means flower viewing in Japan, is the traditional custom of enjoying the beauty of cherry blossoms. The ICM image was captured in the field. For my second image in this multiple exposure creation, I used a colorful Autumn image captured here in Colorado in 2021. Finally, for the third image, I used an equally colorful reflection image also photographed in 2021.
Tip: Try not to delete your RAW images. They may make good “ingredients” for future multiple exposure photography.


Mixing the Ingredients
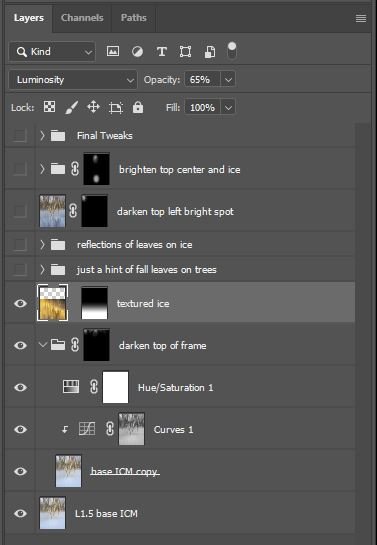
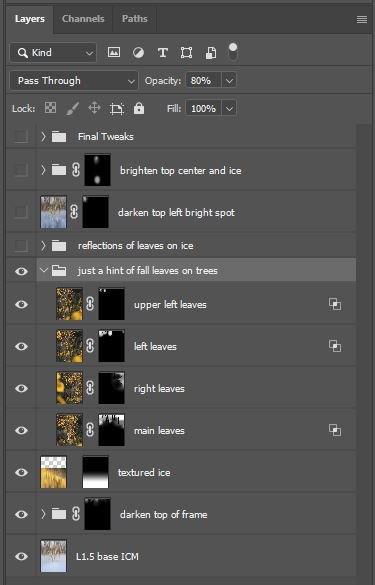
Phase 1: As mentioned earlier, this multiple exposure project started with my ICM image as my foundation. Here are my layers and groups in Photoshop. In the Group called “darken top of frame”, I darkened the blue tones in the top of the image using a Curves and Hue/Saturation adjustment layer
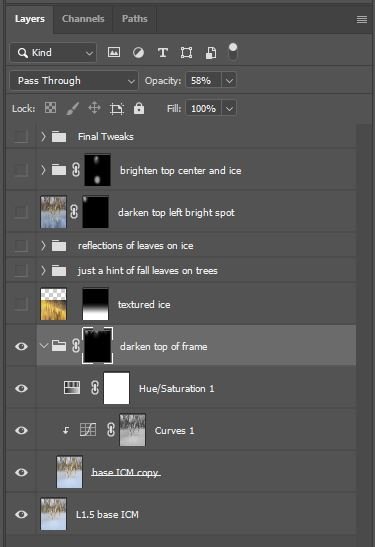
Phase 2: In the next layer called “textured ice”, I blended in the fall foliage reflection image using the Gradient Tool. I settled on the Luminosity blend mode with a reduced opacity to add texture to the bottom part of the image. How did I know use that specific image and blend mode to achieve this desired result? Well, that is where lots of trial and error comes into play. I bring in different types of images and try different blend modes and see what works. The key is to experiment.
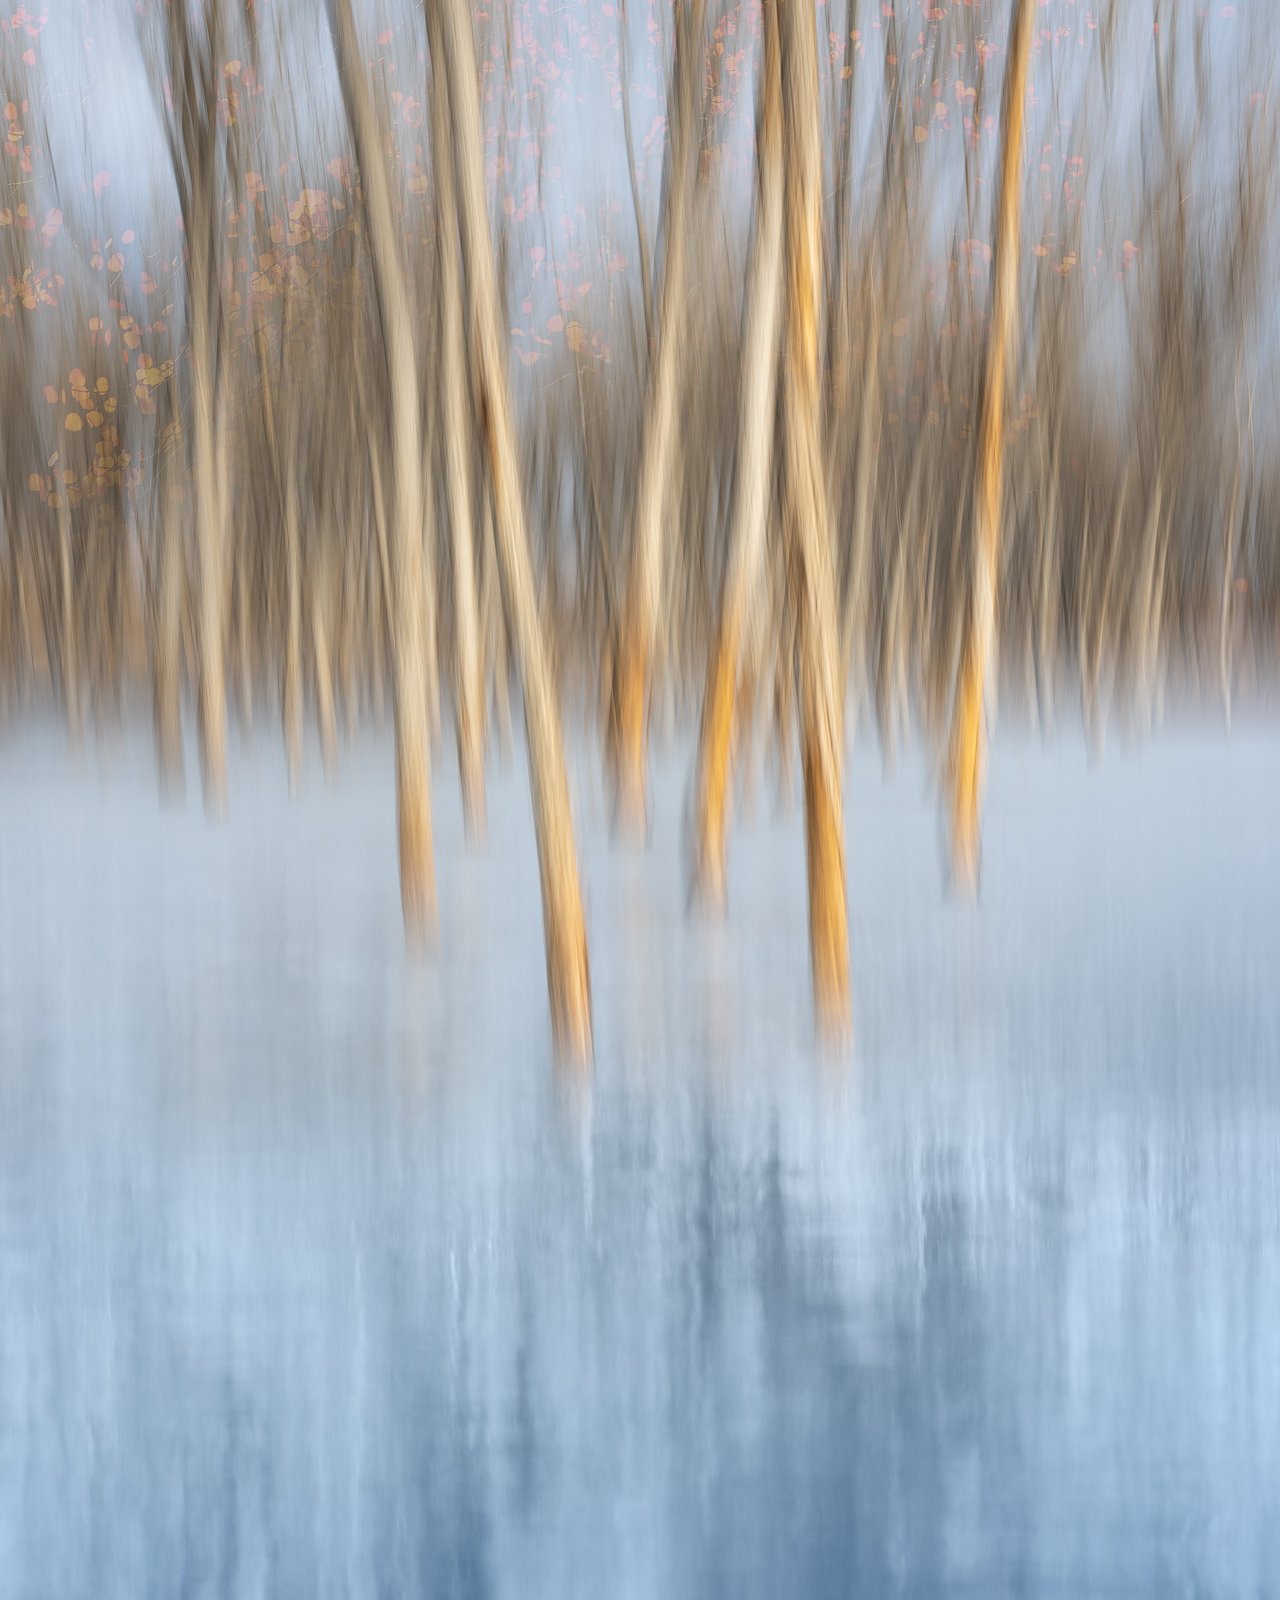
Phase 3: Now it was time to add in my “cherry blossoms" to the top part of the image. This is shown in the Group called “just a hint of fall leaves on trees” which has four layers underneath. The image on the left shows the result after blending in my initial fall foliage image using the Lighten blend mode at a reduced opacity. This is the layer called “main leaves”.
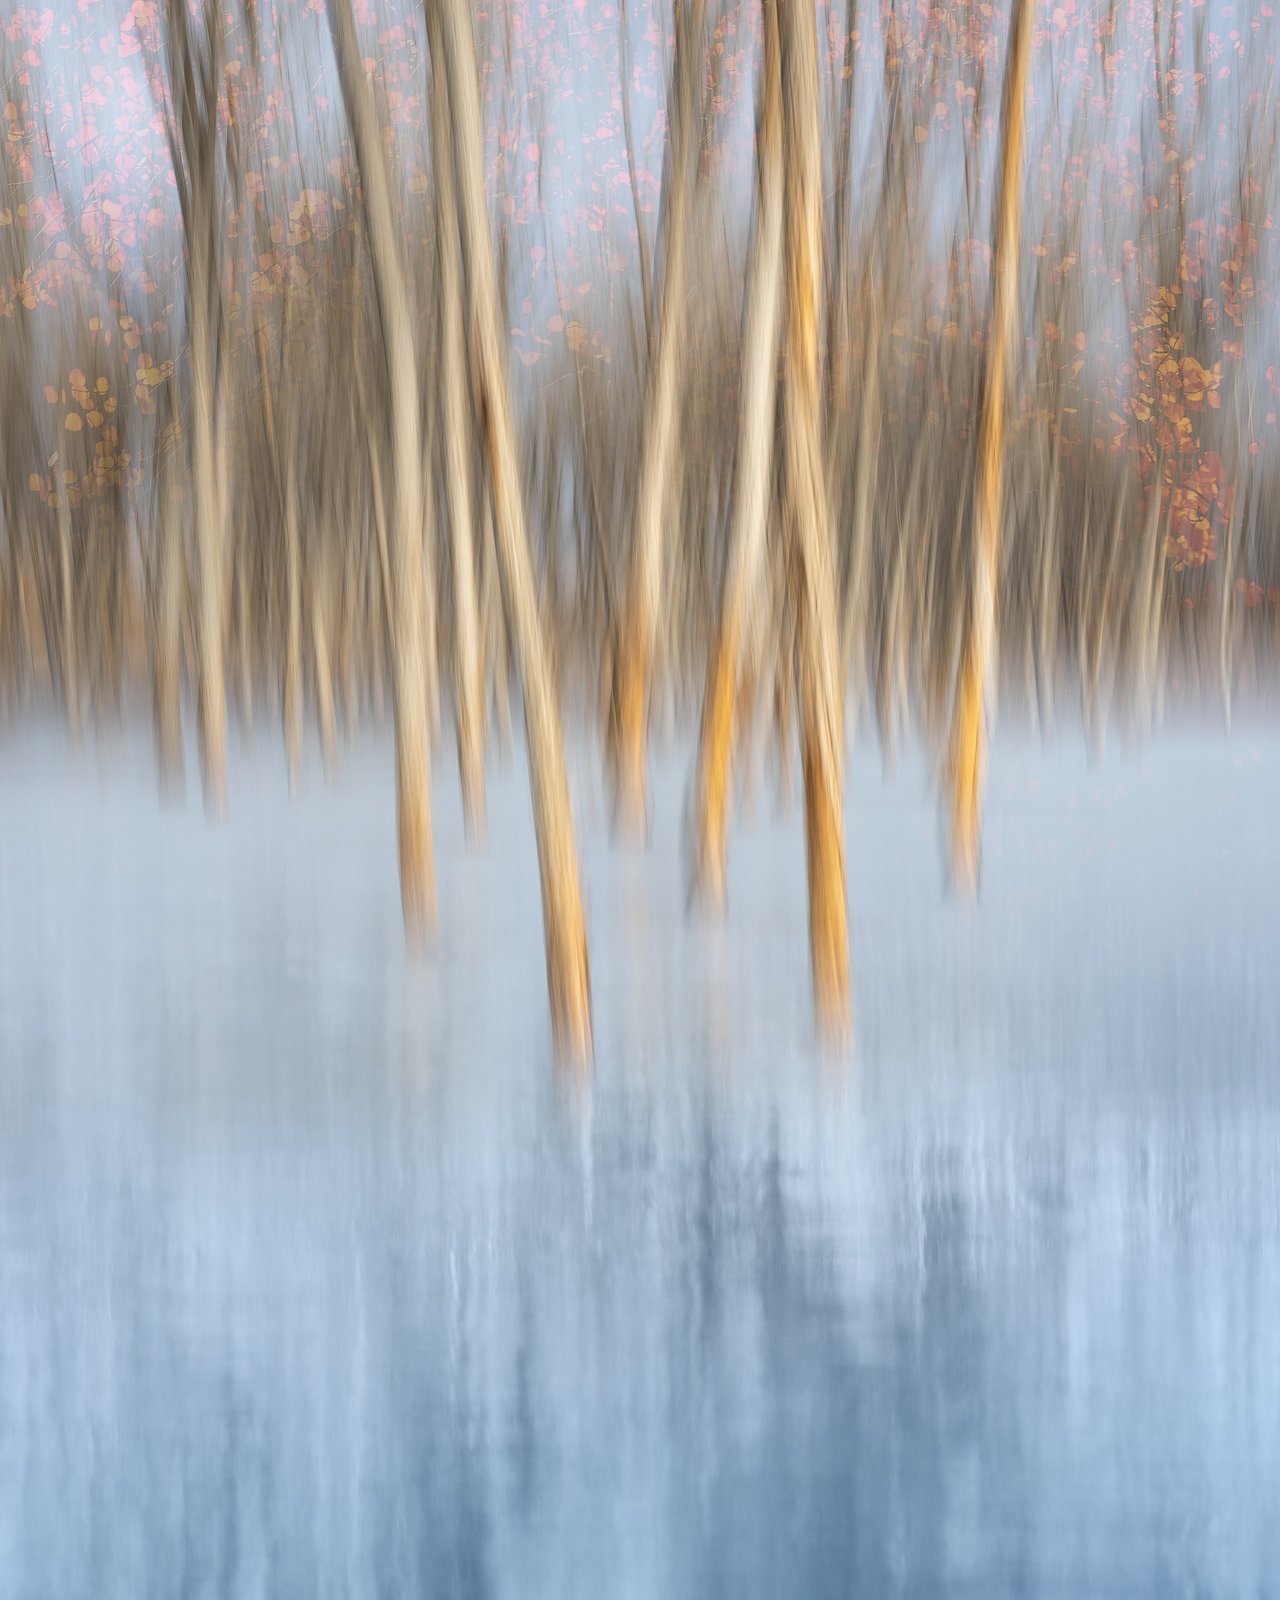
The center image shows the result after adding in the rest of the foliage layers. Using Lighten blend mode gives the leaves a soft ethereal feel which reminded me of cherry blossoms hence the inspiration behind the title of the image.
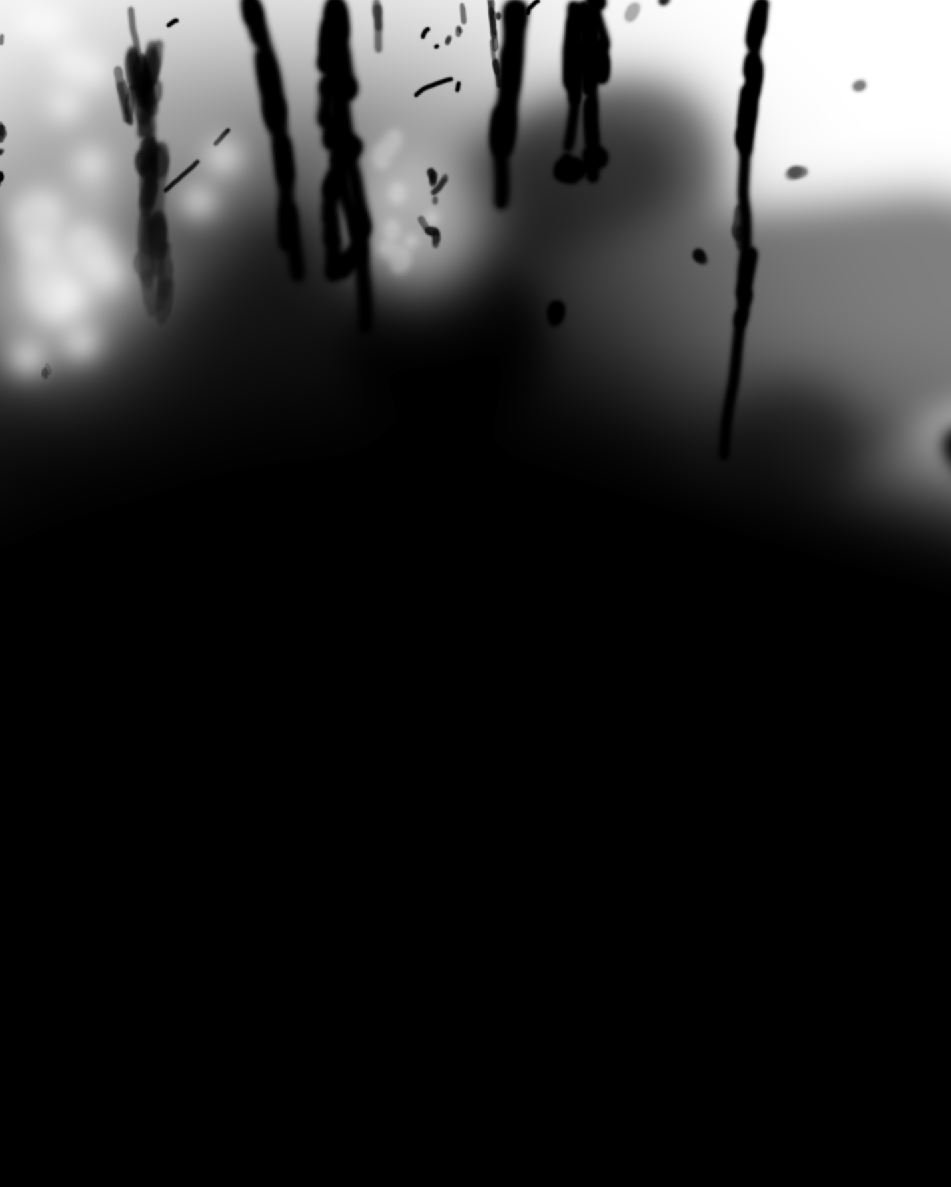
Just for fun, here is what the mask looked like after lots of tweaking on that layer called “main leaves” for the left image above. It was important that the main tree trunks not have any leaves in front of them to give the image more depth.
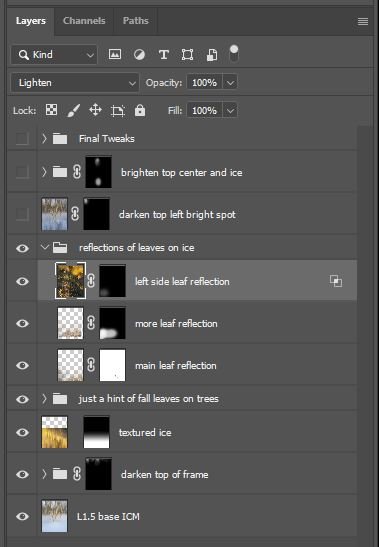
Phase 4: My attention then turned to adding reflections of the leaves (cherry blossoms) to the bottom part of the image to help unify the top and bottom of the image. There are three layers under the Group called “reflections of leaves on ice”. Again, masking was used to control where I wanted the reflection to appear.
The Final Icing
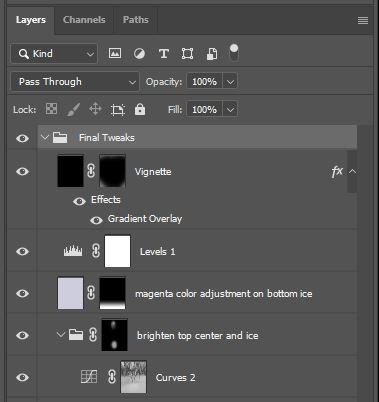
After a few days of working on the image, it was time for the final tweaks. These consisted of the following:
Darkening the top left of the frame because it was drawing too much attention.
Brightening the center of the image where the trees split out and also the ice near the trunks of the main trees in front.
Adding a slight magenta cast to the bottom of the image to help match the colors to the top of the frame.
Adding a Levels adjustment for final brightness
Adding a slight vignette around the corners to help draw the eye towards the main trees and center of the image.
Wrapping It Up
Thank you for following along! I hope this primer into creating my “Eternal Hanami” image was useful to you. I certainly had an awesome experience experimenting with multiple exposure photography and creating this final image. Do not be overwhelmed by the technical steps I showed here. Just try playing around with different images using various blends modes and see what sparks your creativity. Do not be afraid to fail. It is all a learning experience. This is just my own process which will hopefully continue to evolve as I gain more experience about what works and what does not in creating multiple exposure images. If you have any questions, please let me know in the comments section. If you are interested in ordering a print, please email me.
Finally, let us compare where the base image started and where our final blended multiple exposure ended. Thank you!